
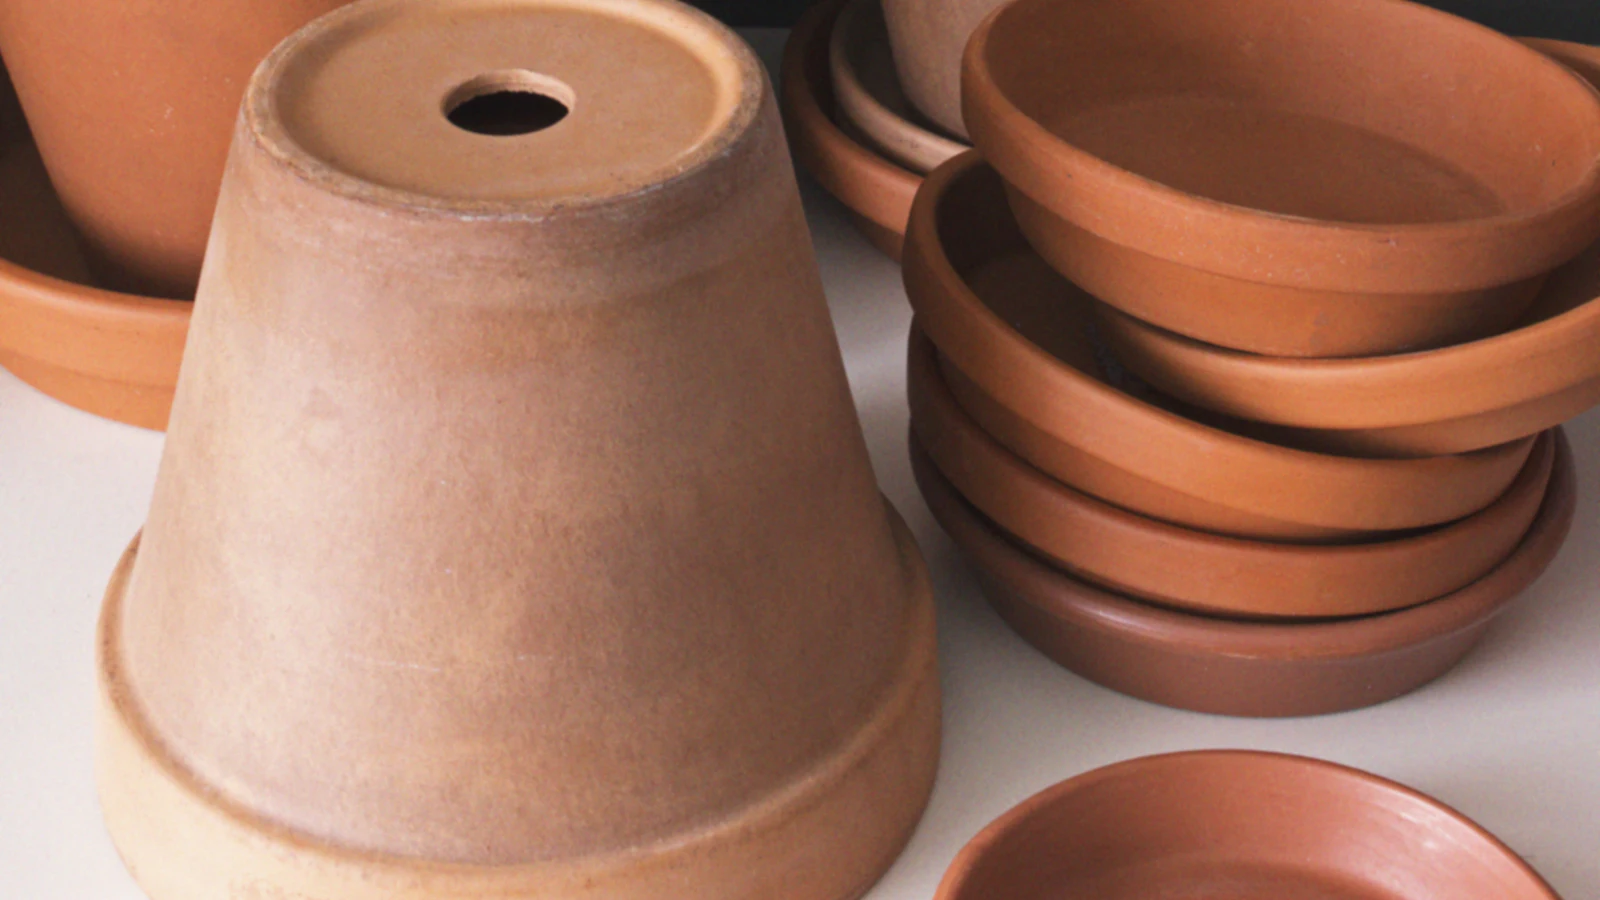
Let the clay do the watering
Bury an unglazed clay olla beside your plants, fill it, put the lid on. Water seeps out slowly, right where the roots are.
- Unglazed clay only
- Keep the lid on
- Plain water, no feed
- Empty before frost
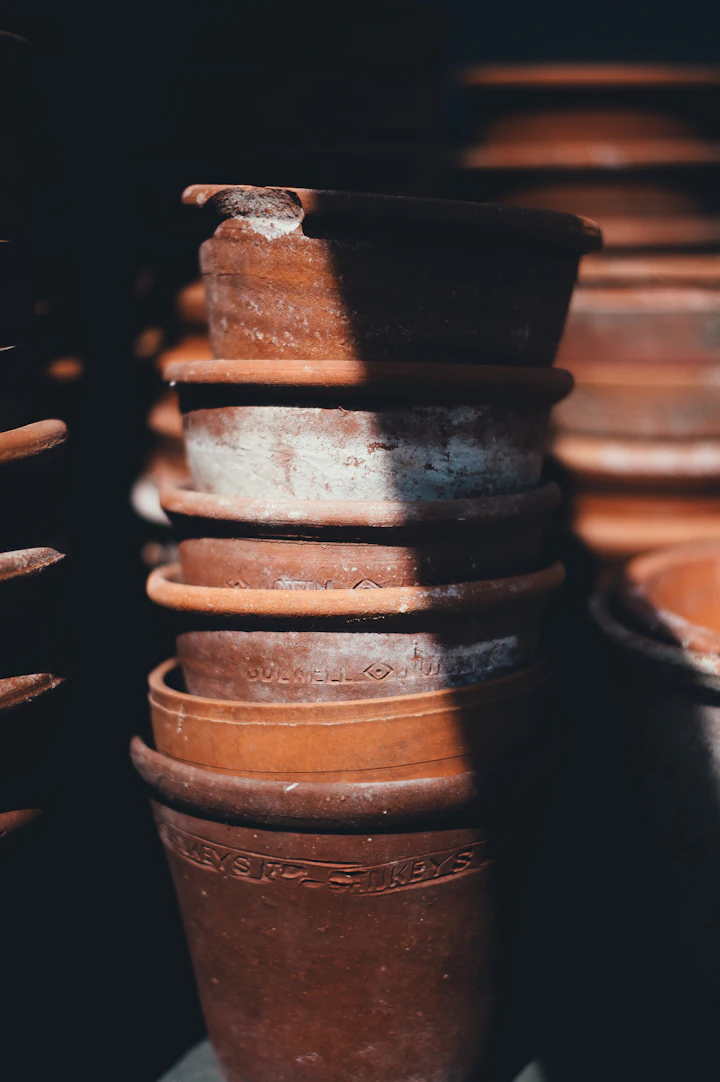
An old clay pot with one simple job
Water less often, and waste less of it.
An olla (say “oy-yah”) is a narrow-necked vessel of unglazed, low-fired clay. You bury it up to its neck next to your plants and fill it. Because the clay is porous, moisture moves through the walls into the soil whenever that soil starts to dry out.
Gardeners in dry farming regions have watered this way for generations. Modern ollas are shaped for home beds and patio pots, with a narrow neck to limit evaporation and a lid to keep out debris and insects. Over a few weeks, roots grow towards the clay and draw water straight from the reservoir.
Before you buy, check three things: the outside is matt and unglazed, the lid fits snugly, and the clay has no hairline cracks (fill it once in a bucket of water and watch for drips from one spot rather than an even sweat).
Look inside a buried ollaHow it works, below the surface
A cross-section of a raised bed with one olla in the middle. Follow the numbers.
-
The lid stays on
It stops mosquitoes, slugs and leaf litter getting in, and keeps the water clean.
-
Neck 2–3 cm above the soil
High enough that mulch cannot fall in, and easy to find once plants fill out.
-
A wall full of tiny pores
Low-fired terracotta lets water pass slowly, over days rather than minutes. A glaze would seal it.
-
A moist zone that regulates itself
Dry soil pulls water through the clay harder than wet soil does, so flow slows when the bed is already damp.
-
Roots follow the water
Within a few weeks roots reach the clay and often wrap around it. You will see the level drop faster.
-
1. Plant
Dig a snug hole so the neck stands just proud of the soil. Backfill firmly: clay must touch soil all round.
-
2. Fill
Pour water through the neck until it is full, then fit the lid. Water the new planting once from above too.
-
3. Grow
Lift the lid every couple of days at first to learn how fast it empties, then top up before it runs below a quarter full.
Why gardeners use ollas
-
Water at the roots
Moisture leaves below the surface, so little is lost to evaporation or runoff.
-
Fewer watering rounds
In mild weather, top up a reservoir every few days instead of carrying a can daily.
-
Steadier moisture
Fewer wet–dry swings, which can help tomatoes and other crops prone to splitting.
-
No pump or tubing
No timer, no tap pressure, no power. Clay, soil and a jug.
Where an olla earns its place
Ollas suit small, thirsty spaces best. Here is where beginners usually start, with a placement tip for each.
-
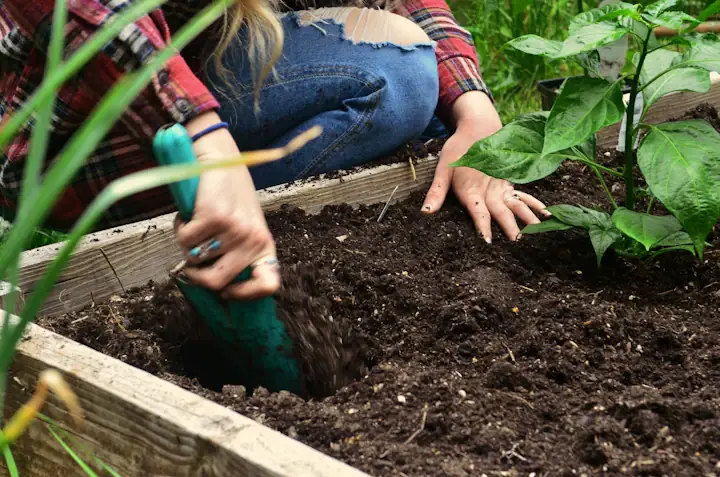
Raised beds
One small olla every 30–40 cm, in a row down the middle.
-
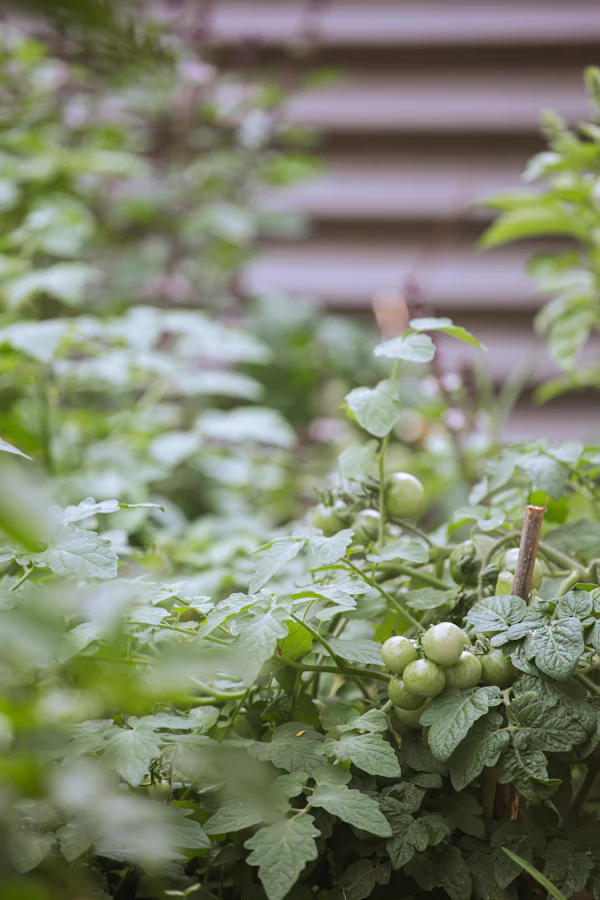
Tomatoes & squash
Thirsty crops: pair one plant with one small olla in summer.
-
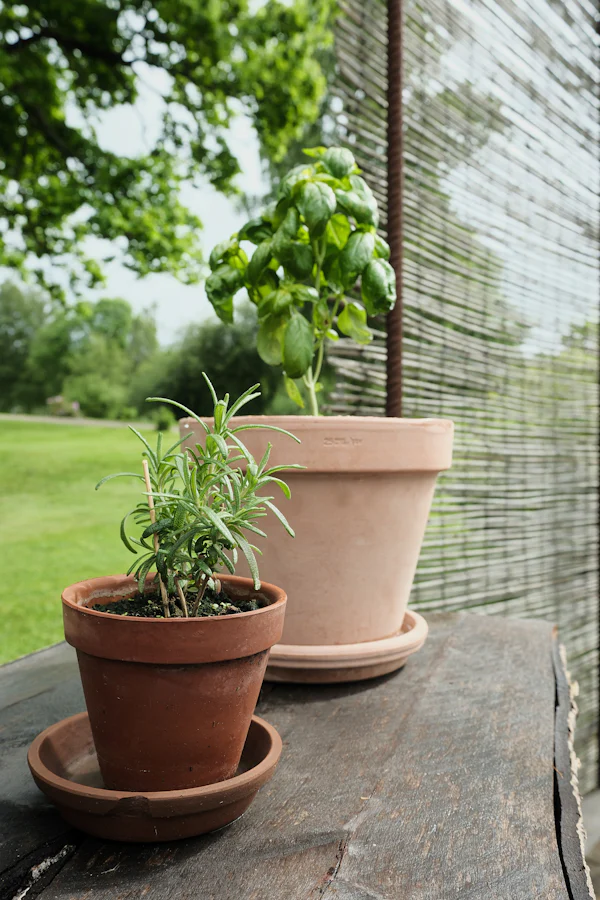
Patio pots
A 20-litre pot or larger gives a 1-litre olla room to work.
-
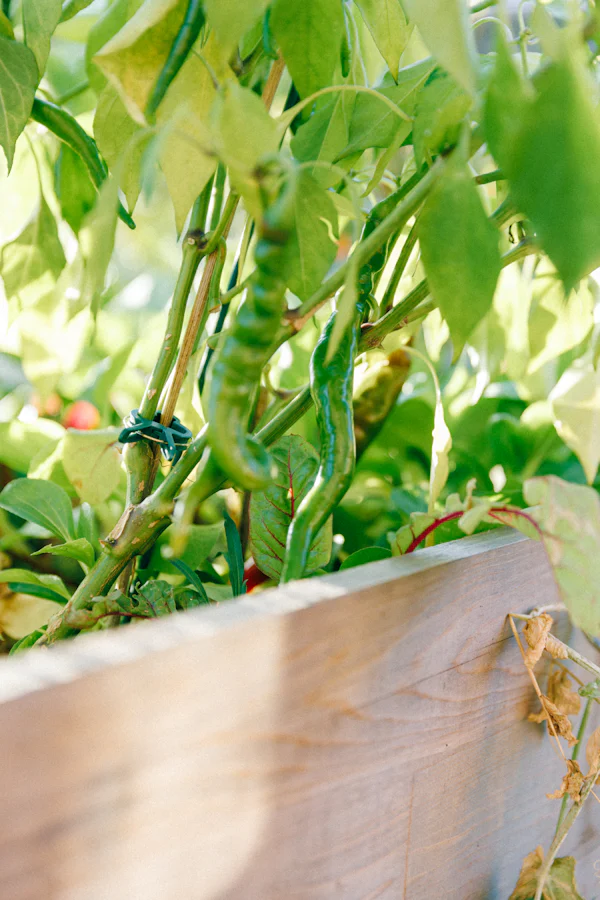
Planter boxes
Deep wooden troughs dry fast; an olla keeps a moist core.
-
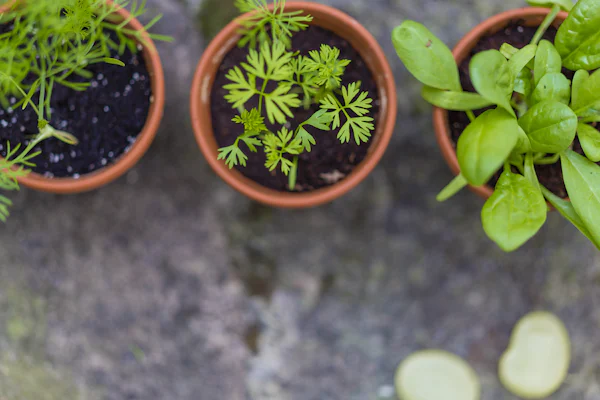
Leafy herbs
Basil and parsley like it moist. Keep rosemary and thyme further off.
Sizing guide
Pick an olla by the space it has to water. These are rough starting points; sandy soil, full sun and big plants all empty an olla faster.
Rule of thumb: the moist zone reaches roughly one olla-height out from the clay wall, a little further in loamy soil than in sand.
| Olla capacity | Suits | Moist zone, approx. | Refill, mild weather | Refill, summer heat |
|---|---|---|---|---|
| 0.3–0.5 L | Window boxes, mid-size pots | 20–25 cm across | Every 3–4 days | Daily |
| 1 L | One 20 L+ pot, or 30–40 cm of bed | 35–45 cm across | Every 3–5 days | Daily to every 2 days |
| 2–3 L | Half-barrel, or a 60 cm square of bed | 50–60 cm across | About weekly | Every 2–3 days |
| 5–6 L | Centre of a wide raised bed | 80–90 cm across | Every 1–2 weeks | Every 3–5 days |
Spaced too far apart?
Push a finger into the soil midway between two ollas. If it is dry a finger-length down while the ollas still hold water, move them closer or add one.
Questions beginners ask
Do I still need to water from above?
For seedlings and fresh transplants, yes, until their roots reach the olla, usually after two to three weeks. Established plants can rely mostly on the olla, with an occasional surface soak in very hot spells.
Can I use ollas in pots and planters?
Yes. Choose a container deep enough to bury the olla up to its neck with soil all around it. Roughly 20 litres or more gives a 1-litre olla room and stops the soil drying too quickly.
Why has my olla stopped emptying?
Either the soil around it is already moist, which is normal, or the pores are clogged with minerals or algae. Lift it, scrub the outside with a stiff brush and water, let it dry, and reinstall it.
Can I add liquid fertiliser to the water?
It is best not to. Fertiliser salts can build up in the clay and slow the flow. Keep plain water in the olla and feed the soil or the plants separately.
What should I do with ollas in winter?
Empty them before freezing weather: water left inside can freeze, expand and crack the clay. Many gardeners lift them at the end of the season, rinse them and store them dry.
Can I make one from ordinary terracotta pots?
Some gardeners seal the drainage hole of two unglazed pots and join them rim to rim. It can work, but a purpose-made olla has a narrow neck that limits evaporation and is easier to cover.
How do I tell when an olla needs refilling?
Lift the lid and look, or dip a clean stick or wooden skewer in and check the wet mark. For the first two weeks, note how many days it takes to fall to a quarter full; that becomes your refill routine, shortened in hot or windy spells.
Do ollas work in sandy or heavy clay soil?
Yes, with adjustments. Sandy soil drains fast, so the moist zone is narrower and the olla empties sooner: space them closer together. Heavy clay soil holds water well, so the olla empties slowly; watch for soggy patches and refill less often. Mixing compost into the planting hole helps in both cases.
Will mulch help?
Yes. A few centimetres of straw, wood chip or leaf mould over the bed keeps the surface cool and slows evaporation, so the olla lasts longer between fills. Leave the neck and lid uncovered so you can find and open it.
Still unsure about something? Send us your question.
Ready to bury your first olla?
Pick the size from the guide above, set it in before planting, and fill it once the soil has settled.
See the olla setOpens the official Relaxdays website in a new tab. We may earn a commission if you buy.